Admin Info
User Manual
Using the Divi Builder
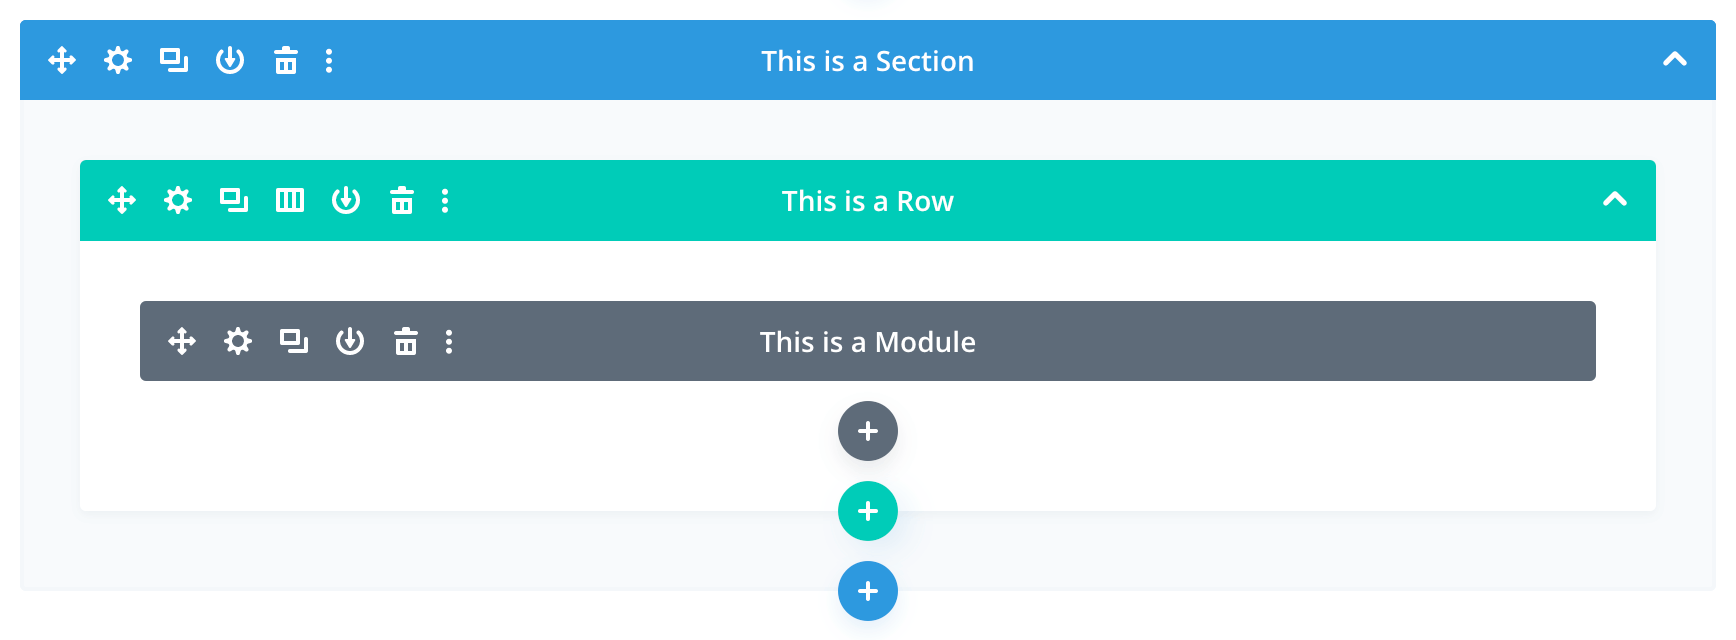
The standard / classic Divi Builder lives inside of the WordPress Dashboard, and can be accessed along with all of the other standard WordPress settings. It sits inside the WordPress UI and replaces the standard WordPress content editor. It’s great for making quick changes, and is rendered as a block-based representation of your website.
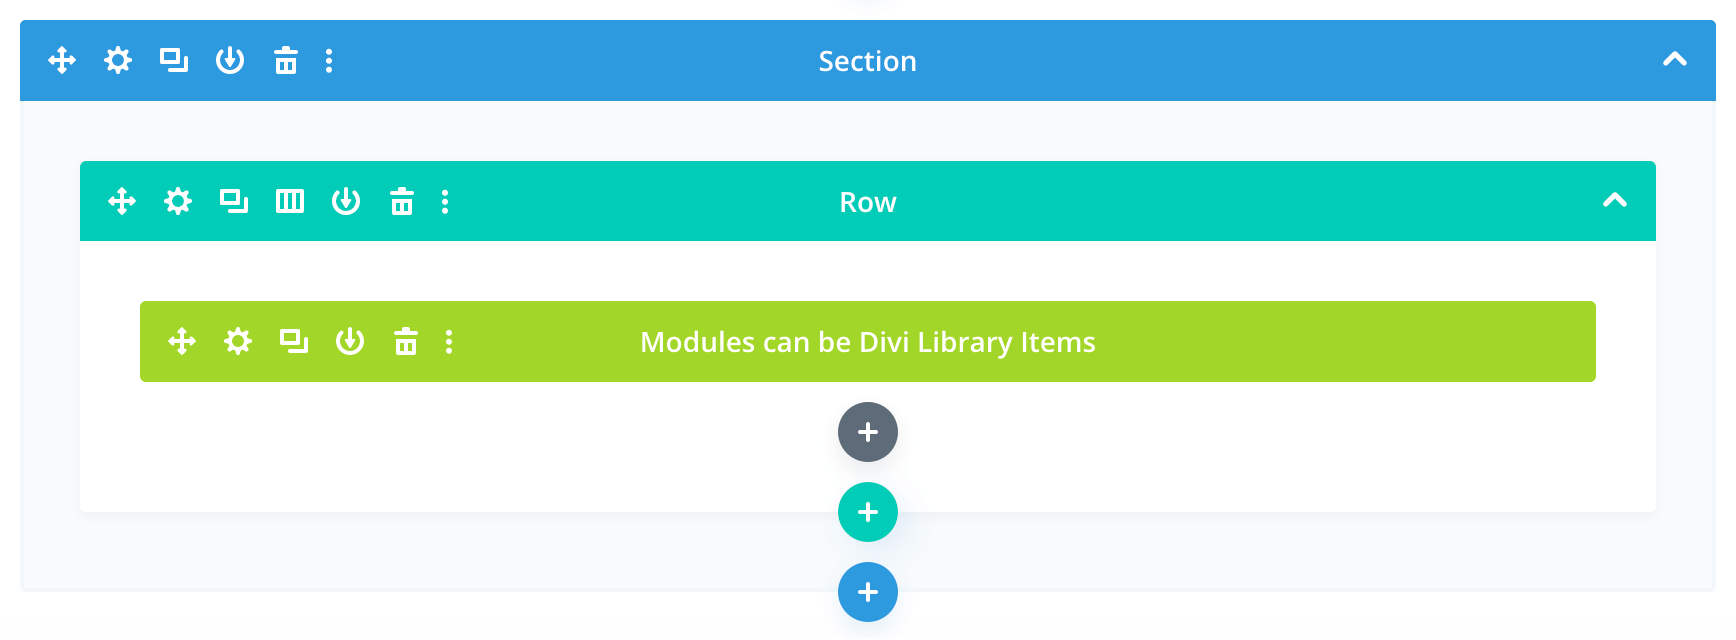
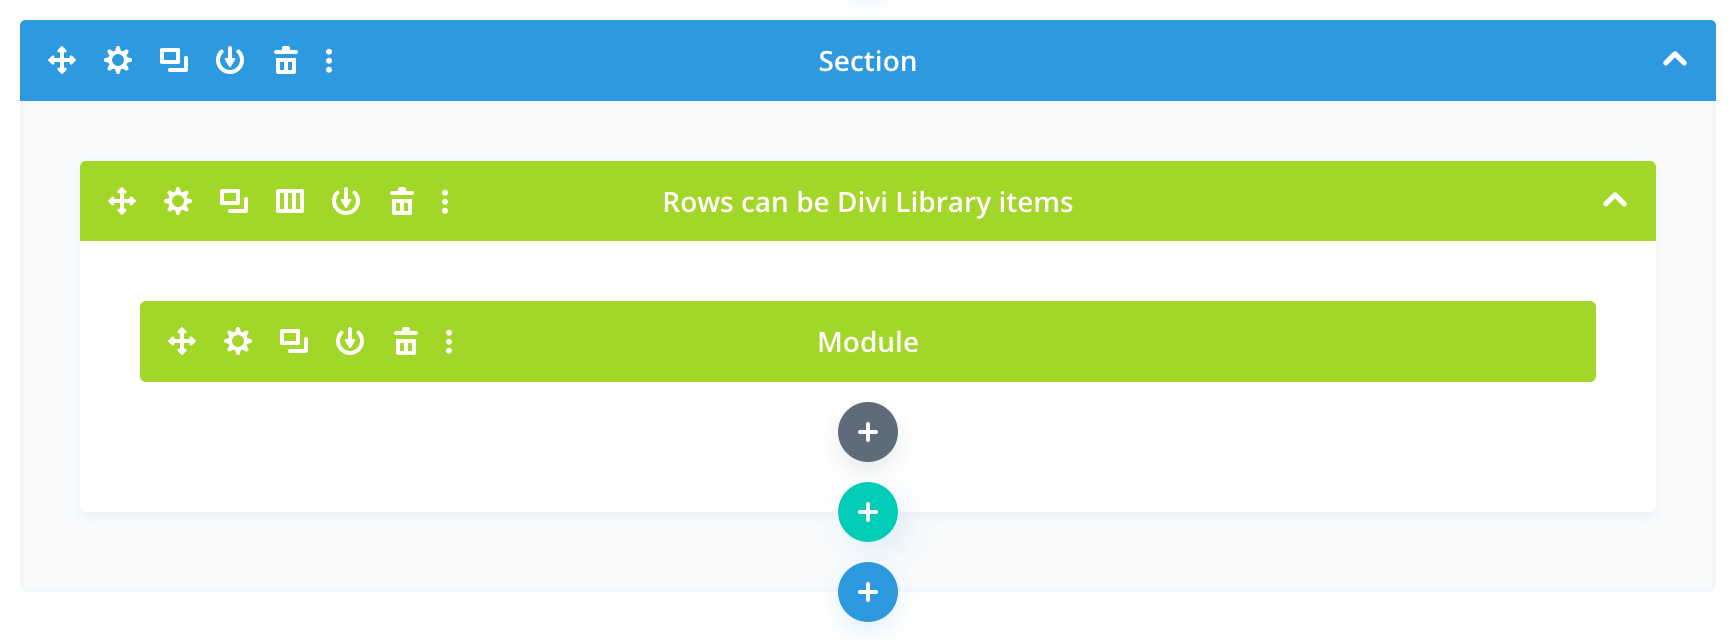
Sections, rows, and modules can all be Divi Library items, which appear in green:

Using the Media Library / Managing Images
- Use the Media Library to add / update / remove media such as images and PDF documents
- when you need to update an existing image or document, make use of the Replace Media feature, rather than simply deleting the old image and adding / uploading a newer version; this way the file’s name and path will remain unchanged, and you won’t have to go into the various pieces of content throughout the site in order to update all your pointers to a newer file
General guidelines for creating / using images
- In general, images you use for the site should be saved in either JPG or PNG format. I prefer to start by exporting images from Photoshop “uncompressed”. For example, if I am saving an image in JPG format I will choose the highest quality, 100%, with the Progressive option selected, and Optimized de-selected
- I tend to favour filenames that are very descriptive: to me
photo.jpgisn't very helpful, whereas something likephoto_2023_golf_fundraiser_01_908x680.jpghelps me instantly identify the contents of the image without having to open it to see - I will then head on over to TinyPNG to optimize my images; it is good practice to keep optimized and unoptimized copies of your images, in case you ever have to go back and make edits to them, in which case you'll want to work with the original / unoptimized versions
- Next you'll use the Media Library to upload the optimized copies of your images; there's rarely any need to upload the original / uncompressed versions
- When adding an image to the Media Library, remember to:
- Add some sensible alt text; here's an article with some good tips
- Clear out the title text; in most cases this is of no value (for your users or for accessibility), particularly if you have added proper alt text to the image
- Images that you upload to your site's Media Library will be further optimized automatically by WordPress; you won't need to worry about this process, but it is good to be aware of it
Image dimentions
For image dimensions, I recommend making your images twice the size that they will appear onscreen, as more and more computer, tablet, and phone screens are high resolution / high pixel density. The caveat is that you do this within reason: large images like the ones on the home page (e.g. the waves-in-water and trees-in-forest photos) would have a prohibitively large file size if we exported them at twice their normal on-screen size, but otherwise that’s a good rule of thumb.
Here are some image dimension guidelines for the site:
- News / event / fundraiser images: 908 x 680 pixels
- banner images and featured images: 1280 by 800 pixels
- staff photos: 480 x 480 pixels
These are of course just recommentations: sometimes your source images aren’t large enough or of a high enough quality to supply at the recommended sizes, and that's okay. In those cases, just try to create your images in as high a resolution as you are able, and try to stick with the aspect ratio of other similar images you have provided for the site.
Note: If you ever need to update an existing image (or document) in your Media Library, make use of the Replace Media feature, rather than simply deleting the old image and adding / uploading a newer version; this way the file’s name and path will remain unchanged, and you won’t have to go into the various pieces of content throughout the site in order to update all your pointers to a newer file.
Managing Events
Adding a new event
- Select Events from the WordPress main menu (down the left side of any admin page)
- Create a new event by duplicating an existing event and editing that: hover over its title, click on the Duplicate This link, then click the new event’s Edit link; if that link isn’t available, you will need to go to Plugins, find the Duplicate Page plugin, and re-activate it first
- Edit the post's Title; be sure to make the same change to the Event TItle field below
- Edit the Excerpt; this text will show in the site’s internal search results (i.e. not on Google)
- Use the Event is a Fundraiser checkbox to differentiate between events for IKCA families and events that are fundraisers
- UPDATED! Use the optional Event is a Featured Event checkbox to “promote” an event to appear in a “featured” format — on both the site's home page, and on the main Events / Fundraisers pages; note that your site now allows for multiple family events and fundraisers to be featured in this way
- Edit the Event Title; this should be the same as the post title you edited above
- Edit the Event Date; this date is used to display events in (reverse) chronological order; if you only want the month of the new event to be displayed in the site, select the Event Date Show Month Only? checkbox
- Add an (optional) Event Time
- Add an (optional) Event Location
- Add an (optional) Featured Image for the event; if you don't provide one, a placeholder image will automatically be shown
- Edit the Event Content; feel free to use either the Visual or the Text view of the content, though you should only use the text view if you are comfortable editing HTML
- Edit the Event Website; used only if you want the event to include a link that points out to an external website
- Add an (optional) Event PDF; used only if you want to include an associated PDF document for the event; you may also (optionally) provide a customized Event PDF Title for the file; note that any PDF document you want to include should have already been added to the site's Media Library
- Add an (optional) Event Form Id; used only if you want to embed an associated Gravity Form to the page for the event; you may also (optionally) provide a custom Event Form Title for the form
- Add one or more (optional) Event Additional Images to create an image gallery for your event
- Click the Publish button (or, if you are making changes to something you’ve already saved, the “Update” button) to save all your changes and make the new event “live”; if you want to save your changes, but aren’t ready for the event to be live for all to see, set the page’s Status to “Draft” before saving
Managing News
Adding a news article
- Select News from the WordPress main menu (down the left side of any admin page)
- Create a new event by duplicating an existing event and editing that: hover over an article's title, click on the Duplicate This link, then click the new event’s Edit link; if that link isn’t available, you will need to go to Plugins, find the Duplicate Page plugin, and re-activate it first
- Edit the post's Title; be sure to make the same change to the News Article Title field below
- Edit the Excerpt; this text will show in the site’s internal search results (i.e. not on Google)
- NEW! Use the optional News Article is Featured checkbox to “promote” an event to appear in a “featured” format — on both the site's home page as well as on the main News page; note that your site now allows for multiple news items to be featured in this way
- Add an (optional) News Article Image; if you don't provide one, a placeholder image will automatically be shown instead
- Edit the News Article Publication Date; this date is used to display events in (reverse) chronological order; if you only want the month of the new article to be displayed in the site, select the News Article Date Month Only? checkbox
- Edit the News Article Title; this should be the same as the post title you edited above
- Edit the News Article Content; use this for articles that will live on the IKCA site, and not for articles that will link out to another website; feel free to use either the Visual or the Text view of the content, though you should only use the text view if you are comfortable editing HTML
- Add an (optional) News Article Source; use this to indicate the source where the article is posted (e.g. ”CTV News”); use this only for articles that will link out to another website (i.e. not for articles that will live on the IKCA site)
- Add an (optional) News Article URL; the website address you want to link to; again, use this only for articles that will link out to another website, and not for articles that will live on the IKCA site
- Add an (optional) Featured Image for the event; if you don't provide one, a placeholder image will automatically be shown
- Add one or more (optional) News Article Additional Images to create an image gallery for your event
- Click the Publish button (or, if you are making changes to something you’ve already saved, the “Update” button) to save all your changes and make the new event “live”; if you want to save your changes, but aren’t ready for the event to be live for all to see, set the page’s Status to “Draft” before saving
Managing Programs
Adding a program
- Select Programs from the WordPress main menu (down the left side of any admin page)
- Create a new program by duplicating an existing one and editing that: hover over a program's title, click on the Duplicate This link, then click the program's Edit link; if that link isn’t available, you will need to go to Plugins, find the Duplicate Page plugin, and re-activate it first
- Edit the Excerpt; this text will show in the site’s internal search results (i.e. not on Google)
- Edit the Program Title
- Edit the Program Description
- Add one or more (optional) Program Tags; stick with consistent terms for all your events; order them as you see fit (click and drag to rearrange them)
- Edit the Program Order; order is, unsurprisingly, used to determine the order in which the programs appear on the Programs page; lower numbers appear before higher numbers
- Click the Publish button (or, if you are making changes to something you’ve already saved, the “Update” button) to save all your changes and make the new program “live”; if you want to save your changes, but aren’t ready for the program to be live for all to see, set the page’s Status to “Draft” before saving
Managing Team Members
- the Team & Board page automatically aggregates all of the ”Team Members“ custom content items
- the Team Members themselves are instances of that custom content type
- for individual staff members, some fields are required, specifically: photo, first name, last name, title, bio, and order
- there are automatically generated pages for staff members, e.g. https://ikca.ca/team-members/jenna-remedios/ but these pages are not used in the site: no links to them appear anywhere, and they are merely populated with the same information that appears in the main Staff page
- Use the Team member is a board member checkbox to differentiate team members from board members
- order is, unsurprisingly, used to determine the order in which the staff members appear on the Team & Board page; lower numbers appear before higher numbers
- creating a new team member from scratch is not recommended; rather, choose an existing team member item and use its Duplicate This link to create a copy, then edit that
- when creating a new team member you should also create a new popup for that team member; if necessary contact Trapeze to assist you with this step, otherwise use the following steps:
- Choose Popup Maker from the main WordPress menu
- Choose an existing team member’s popup from the list, and click on Duplicate This
- Edit the new draft popup
- Update the person’s name in the post’s ID field
- In the post’s content field, update the
slugattribute in the[pods…]template code with the new team member’s first and last names (both all lowercase), e.g.slug="sophie-dixon" - In the Popup Settings section, edit the class name in Extra Selectors with the new team member’s first and last names (title case), e.g.
.teamMemberDetailsPopupTrigger_SophieDixon - Click the Publish button to make the new team member’s popup live